
10 Tips for Taking Great Product Photos with your Phone

I've been a professional photographer for over a decade. And guess what? I. Am. Lazy. I hate busting out the big boy, so you better believe I'm cheating and using my iPhone for product and content images whenever I can get away with it!
If you’re a small business owner or just starting to sell products online, having professional-looking photos is a must. It doesn't matter how amazing your product is... if your photos are bad, your product will be perceived as bad. And nobody will buy it.
Practice makes perfect, so here are 10 tips to help you get started:
1. Use Natural Light (Or a Professional Light Source)
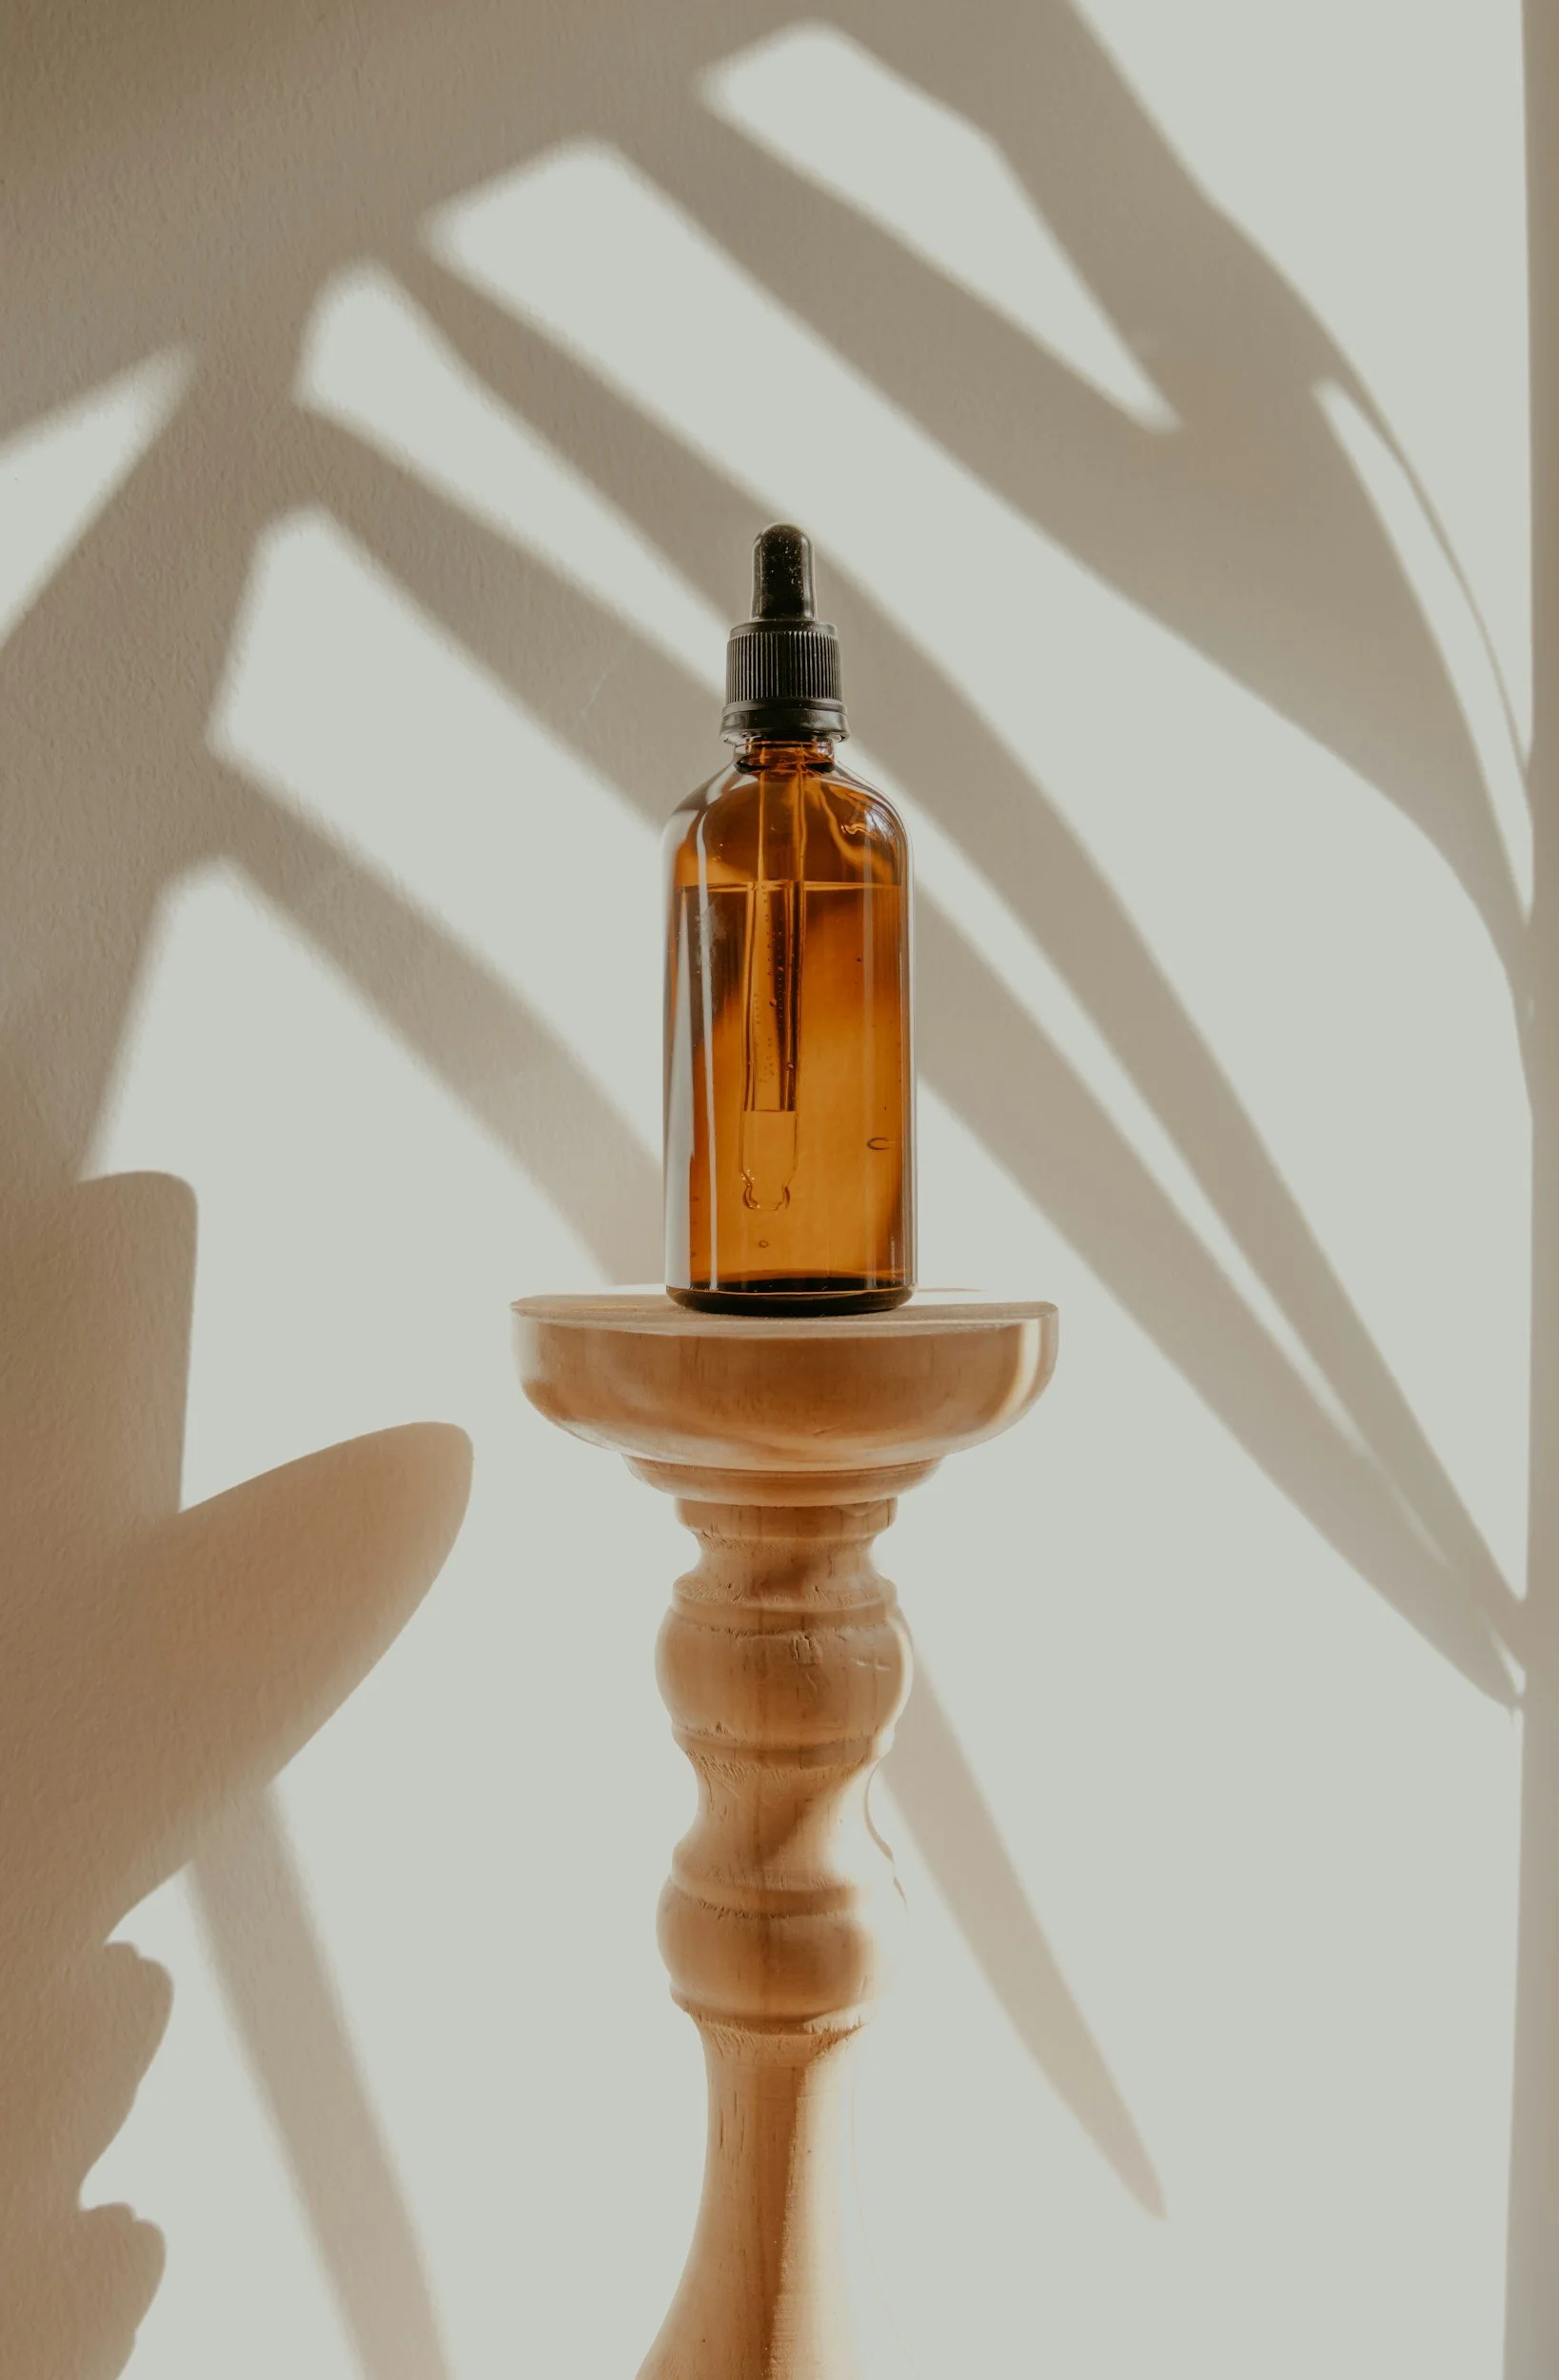
Good lighting is the secret to great photos! Position your product near a window during the day to make the most of soft, natural light. Avoid harsh midday sun or direct light that can create unflattering shadows. Overhead lights or lamps can cast unflattering colors, so it’s best to steer clear of using them. If photographing during the daytime isn’t an option, consider investing in a "constant light" or "continuous light" to maintain consistency in your shots.
A key tip: don’t mix light sources. Natural light and artificial light have different color temperatures, and combining them can throw off the colors in your photo. If you’re using a constant light, work in a dark room to ensure only one light source is hitting your product. This ensures color accuracy and avoids confusing shadows.
If you’re new to using continuous lights, avoid pointing them directly at your product. Instead, experiment with the light’s placement. Shadows can add depth and interest to your photos when used strategically. For example, most food photography uses backlighting, where the primary light source is positioned behind the subject, creating soft shadows at the front. Placing your light source to the side or back will add dimension, while pointing it directly at the product will result in a flat, dull look.
To create softer, more diffused lighting, try "bouncing" the light off a white wall or foam board placed near your subject. This technique creates a more flattering and professional look without harsh shadows.
For what it's worth, I use this constant light paired with an umbrella and I usually have it at a 45 degree angle.
2. Soften Shadows with a "Bounce Card"
Use something that is bright white (like a piece of white poster board, or even a white piece of paper) to bounce light to help fill in the shadows so that the overall image doesn't have too much contrast. You can set this up by having your bounce card opposite your main light, with your subject in the middle. The white will softly reflect light back into the shadow areas. It makes the lighting nice and even, and your shadows will stay soft (no harsh edges). This can absolutely be a stylistic preference, though, so play around and see what style best suits your brand!


3. Declutter Your Background
Keep the focus on your product by using a clean, simple background. White foam boards, poster boards, or even fabric can create a clean and professional look. I've even used colored scrapbook paper! Textured surfaces like wood or marble for a stylish touch. If you will be doing product photos frequently, look at Replica Surfaces - they have some neat systems for making your products look like they are staged in professional studio. r
4. Stabilize Your Shot
Shaky hands can blur your photos. Use a tripod for stability or set your iPhone on a solid surface and use the timer function to capture steady shots. You can find affordable phone tripods online that are easy to use.
5. Focus and Adjust Exposure
Tap on your iPhone screen to focus on your product. Once the focus is locked, you can adjust the exposure by sliding your finger up or down to make the image brighter or darker. This small adjustment can dramatically improve the quality of your shot. You CAN make it brighter by editing after you take it, but it's always best to get your exposure right the first time.
6. Play with Angles
Experiment with different angles to highlight your product’s features. Flat lays work well for smaller items, while eye-level shots can make larger products feel more lifelike. Try shooting from above, the side, or even at a slight tilt to find the most flattering perspective. Here's one of my favorite tips: flip your phone upside down! It will give your subject a more in-line angle. Just try it!
7. Use Portrait Mode (When Appropriate)
If your iPhone has Portrait Mode, take advantage of it for products that look best with a blurred background. This effect, called bokeh, draws attention to your product and gives your photos a professional edge.
8. Edit Your Photos
Editing can take your photos from good to great. Use apps like Lightroom Mobile, Snapseed, or even the built-in iPhone photo editor to adjust brightness, contrast, and color balance. Just be careful not to over-edit; subtle tweaks work best.
9. Incorporate Props Thoughtfully
Props can add context and storytelling to your product photos. For example, a cozy blanket and mug can enhance the appeal of a handmade candle. Just ensure the props don’t steal the spotlight from the product itself, and pay attention to your composition. For product photography, you're going to want to focus on diagonal lines or C-curves.
Notice the diagonal lines that lead your eye straight to the product!
10. Take Lots of Photos
Don’t settle for just one or two shots. Take photos from multiple angles, with different lighting setups, and using various props. Switch out your backgrounds. The more options you have, the easier it will be to find the perfect shot during editing. Make sure. you get at least one set that's on an all-white background though - some companies (like Amazon) will require that you have an all-white setup for certain images.
Bonus Tip: Practice Makes Perfect
The more you practice taking product photos, the better you’ll get! Experiment with different techniques, review what works and what doesn’t, and keep refining your skills.
Your phone can be powerful tool for creating eye-catching product photos. With these tips, you can elevate your brand and showcase your products in the best light (did you like that?).